How to Access Historical Data
Historical data offers information on the activity occurring with a website over a period of time. There is a record for multiple aspects of each website.
Accessing A Website's Historical Data
- 1
- To access a website's historical data you will, first, need to navigate to the Websites page and select the desired website.
- 2
- Historical data relating to WordPress can be accessed under Plugins and Themes in the website's profile
- 3
- Click on one of these tabs and look for the "Updates History" link.
- 4
- Clicking on Updates History will lead you to a pop-up that displays all of your recent WP plugin/theme updates; you can filter these results by the number of days since the update occurred (up to 90 days).
-
- 5
- You can access these under Screenshots within a website's profile.
- 6
- Clicking on Performance within a website's profile will lead to the site's Google Analytics history. These stats are kept for up to 90 days and can be filtered by different time intervals.
-
- 7
- If backups are enabled for a website, then you will be able to see a history of backups in the Backups tab of the site's profile.
- 8
- You can select a specific date of a backup from the calendar on the left.
- 9
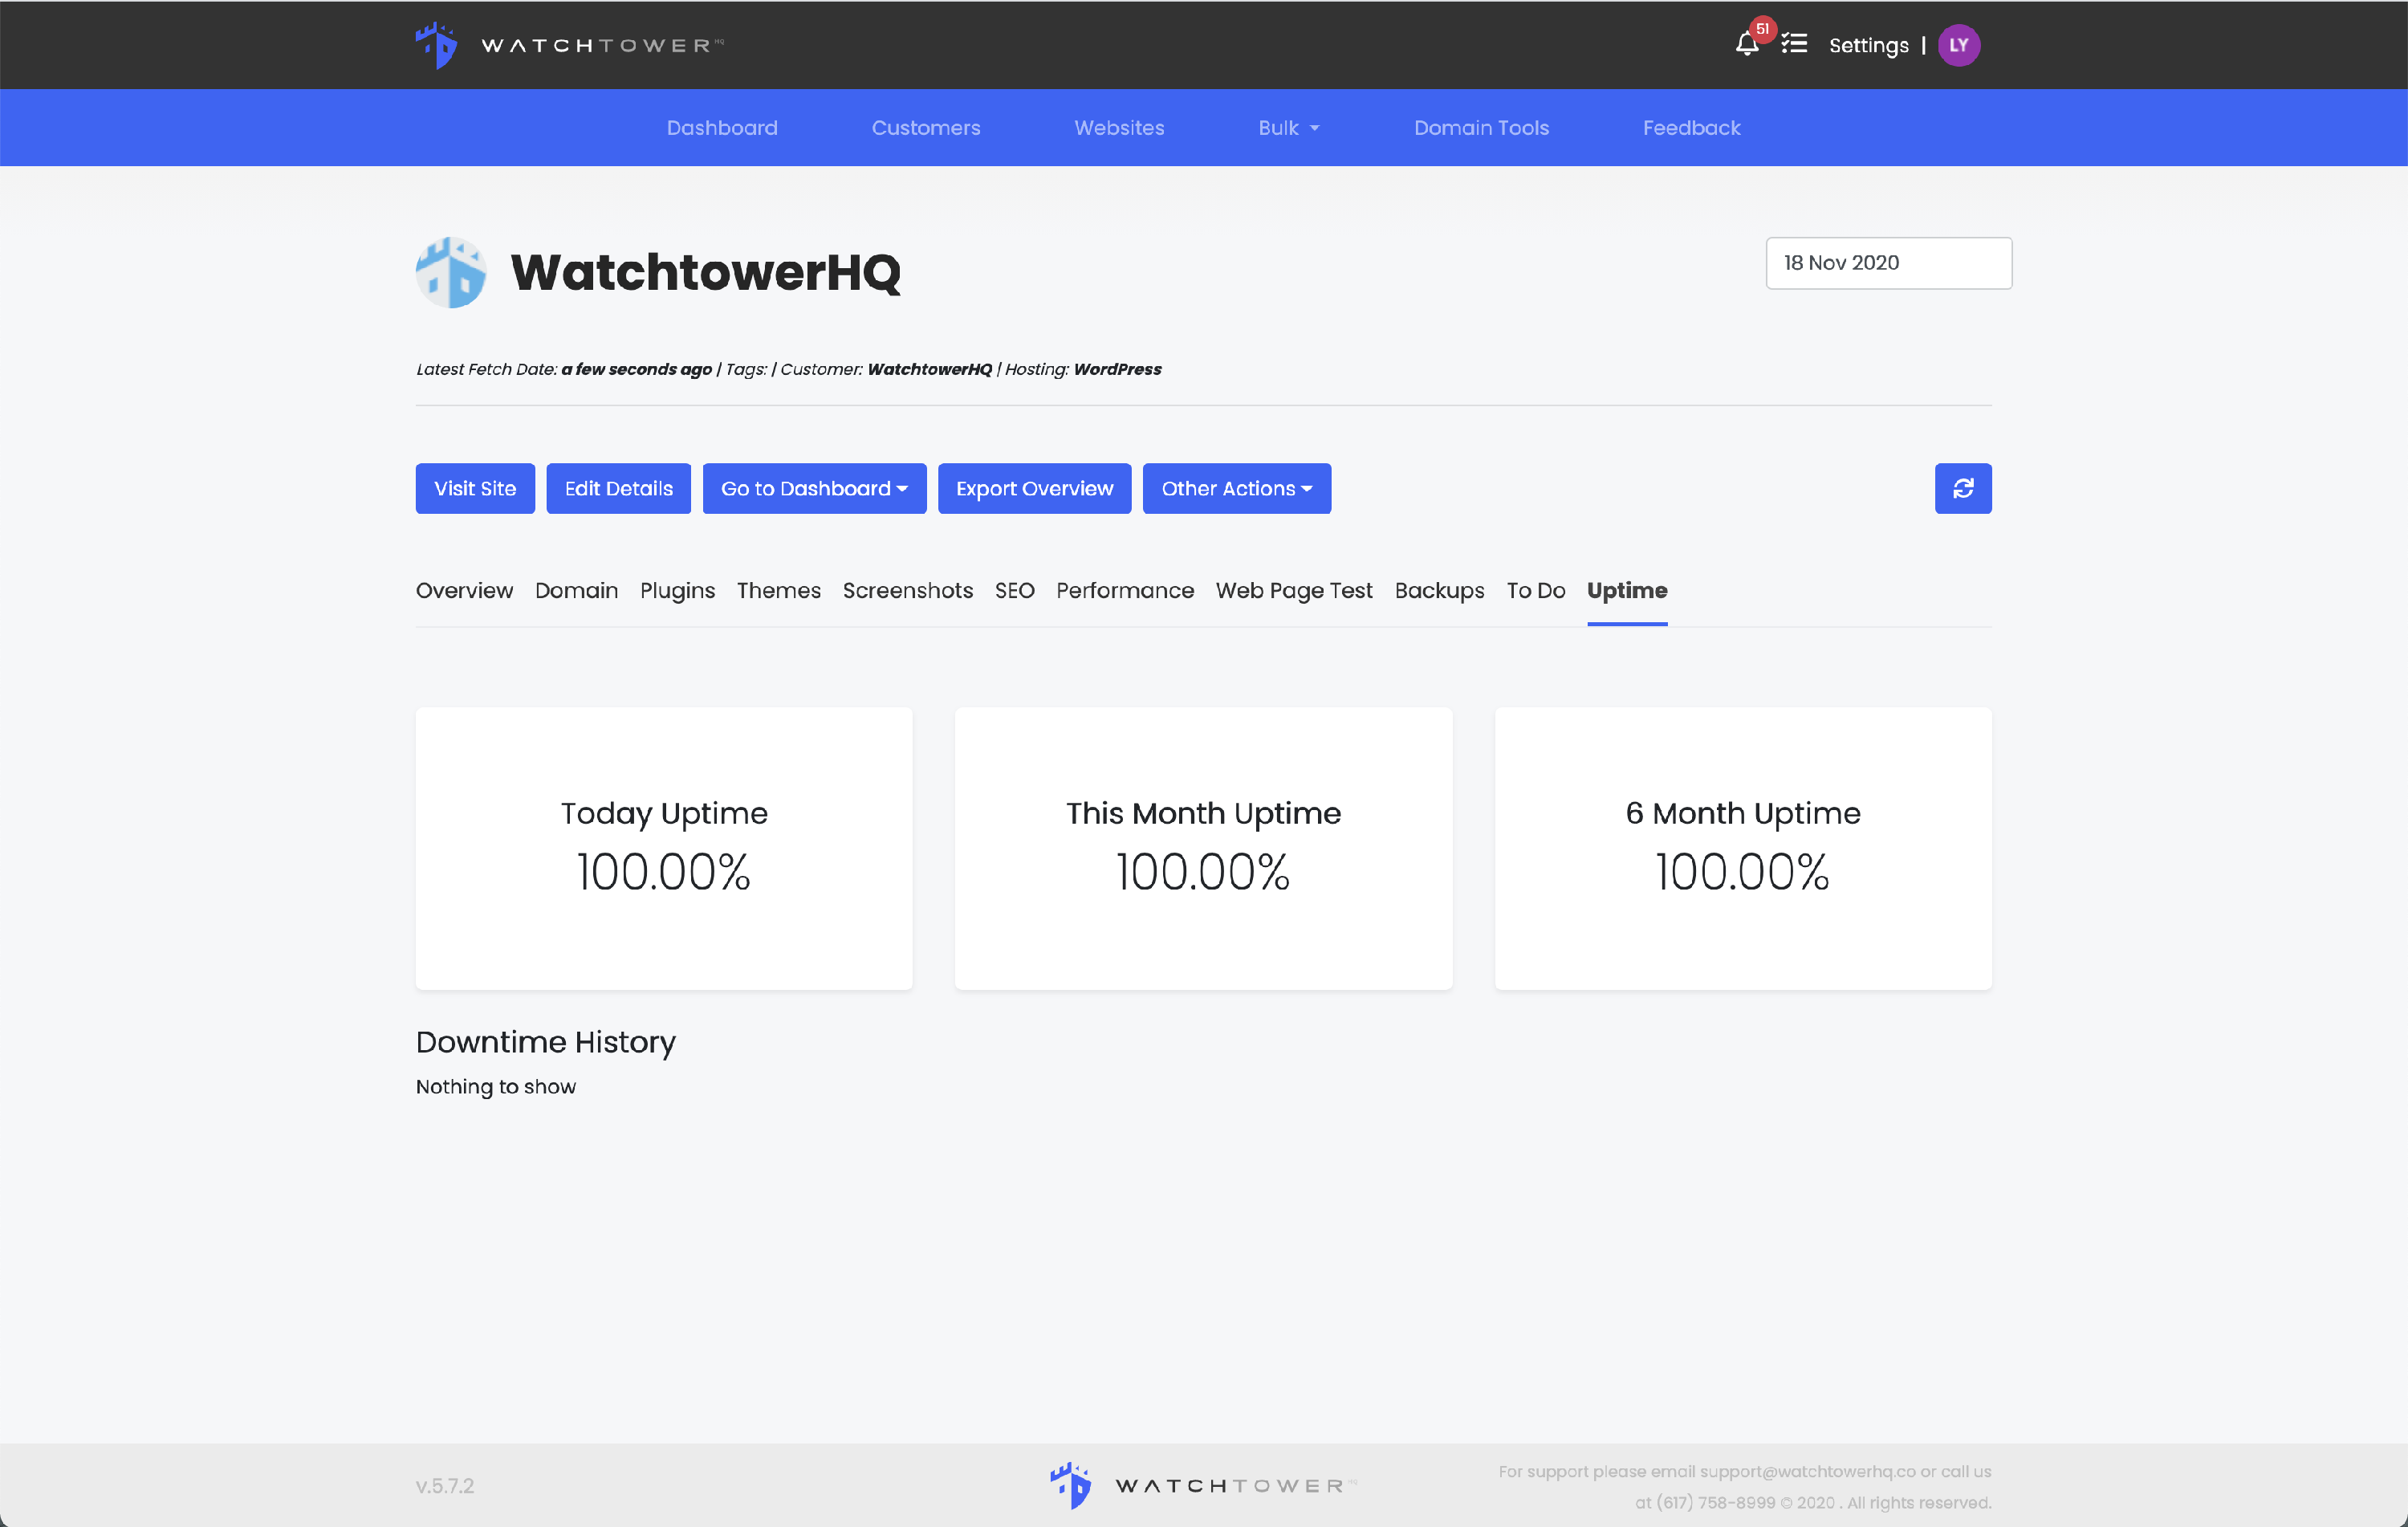
- The Uptime tab displays the percentage of the time that the site did not have issues in the past day, month, and six months.
- 10
- Notice the Uptime History log at the bottom of the page. If there is any downtime recorded for this website, it will be recorded here as well as reflected in the uptime percentage.
-
WordPress History
Screenshot History
If you have turned screenshots on for the website, then you will have a history from the day they've been turned on forward.
Performance History
Backups
Uptime History